Settings & branding
Set your client portal logo and color
Upload a supported logo that replaces the business name above the portal menu.
For owners1 min read
Upload and save
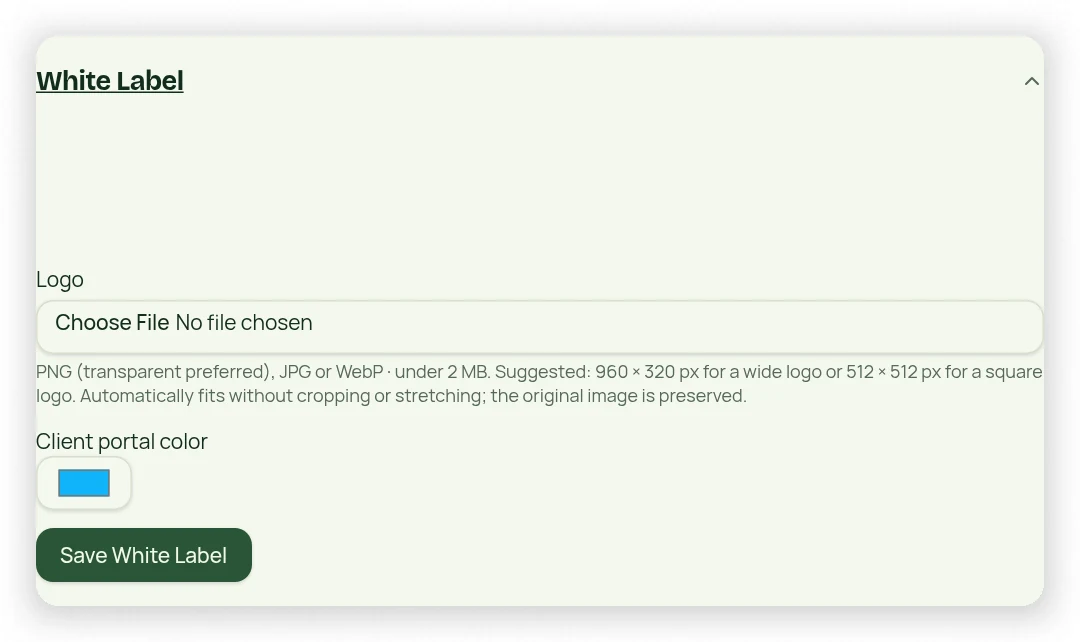
- Open Settings → White Label.
- Select PNG, JPG or WebP under 2 MB; transparent PNG is preferred for logos.
- Use approximately 960 × 320 px for a wide logo or 512 × 512 px for a square one.
- Review the preview and choose your client portal color.
- Save White Label, then reopen the client portal to verify the result.
Where the logo appears
A saved logo replaces the business-name branding above the client portal menu at the upper left on tablet/desktop. Mobile keeps branding at the top with navigation at the bottom. The image fits without cropping or stretching and preserves the original proportions. There is no client portal font selector.
If the logo does not load
Check the file type/size and preview, confirm Save completed, then refresh the client portal. Verify the client is linked to the intended business. Do not make private logo storage public as a workaround. Contact support if a supported saved image still fails for the linked client.